Amazon AWS: The Simplest Load Balancing Cluster with Failover on Windows and Linux
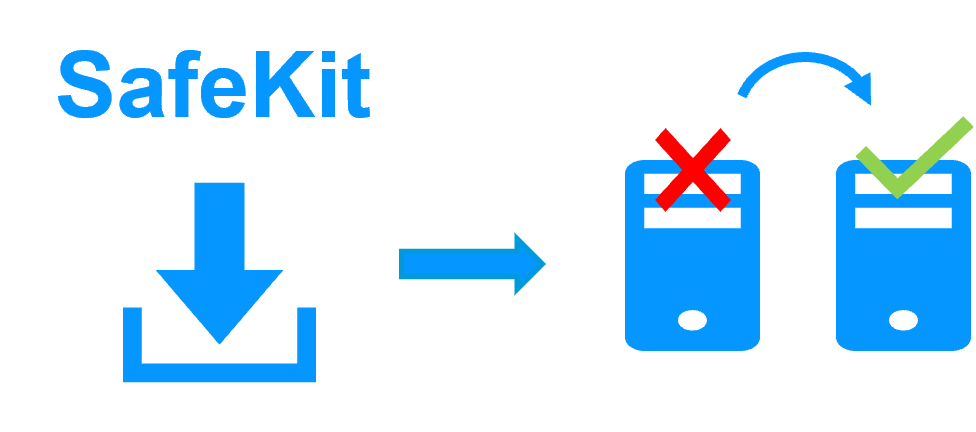
Evidian SafeKit
The solution in Amazon AWS
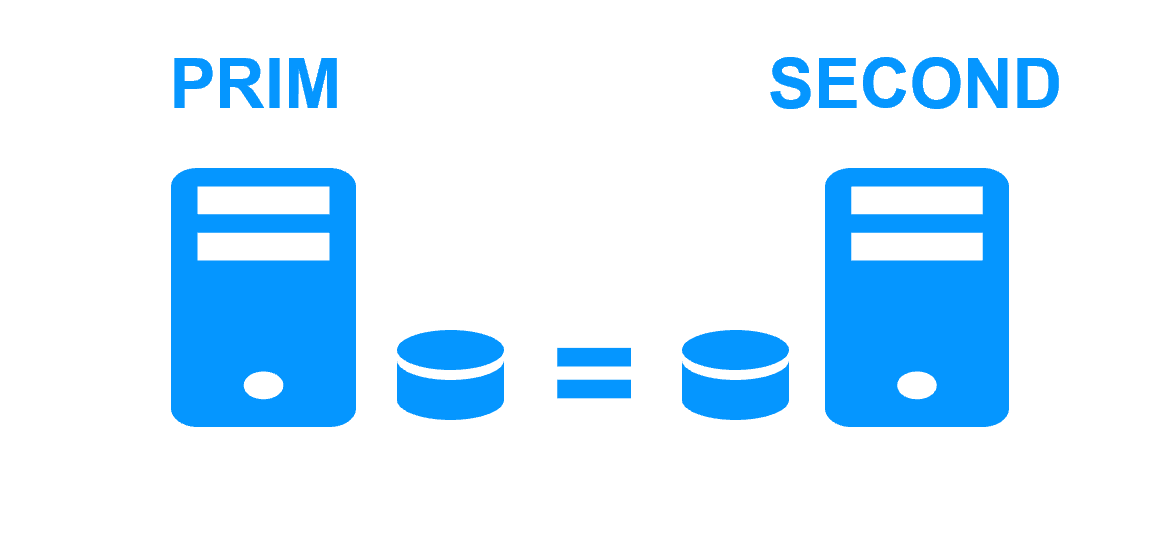
Evidian SafeKit brings load balancing and failover in Amazon AWS between two Windows or Linux redundant servers or more.
This article explains how to implement quickly a Amazon AWS cluster without specific skills.
A generic product
Note that SafeKit is a generic product on Windows and Linux.
You can implement with the same product real-time replication and failover of any file directory and service, database, complete Hyper-V or KVM virtual machines, Docker, Kubernetes, Cloud applications (see all solutions).
Architecture
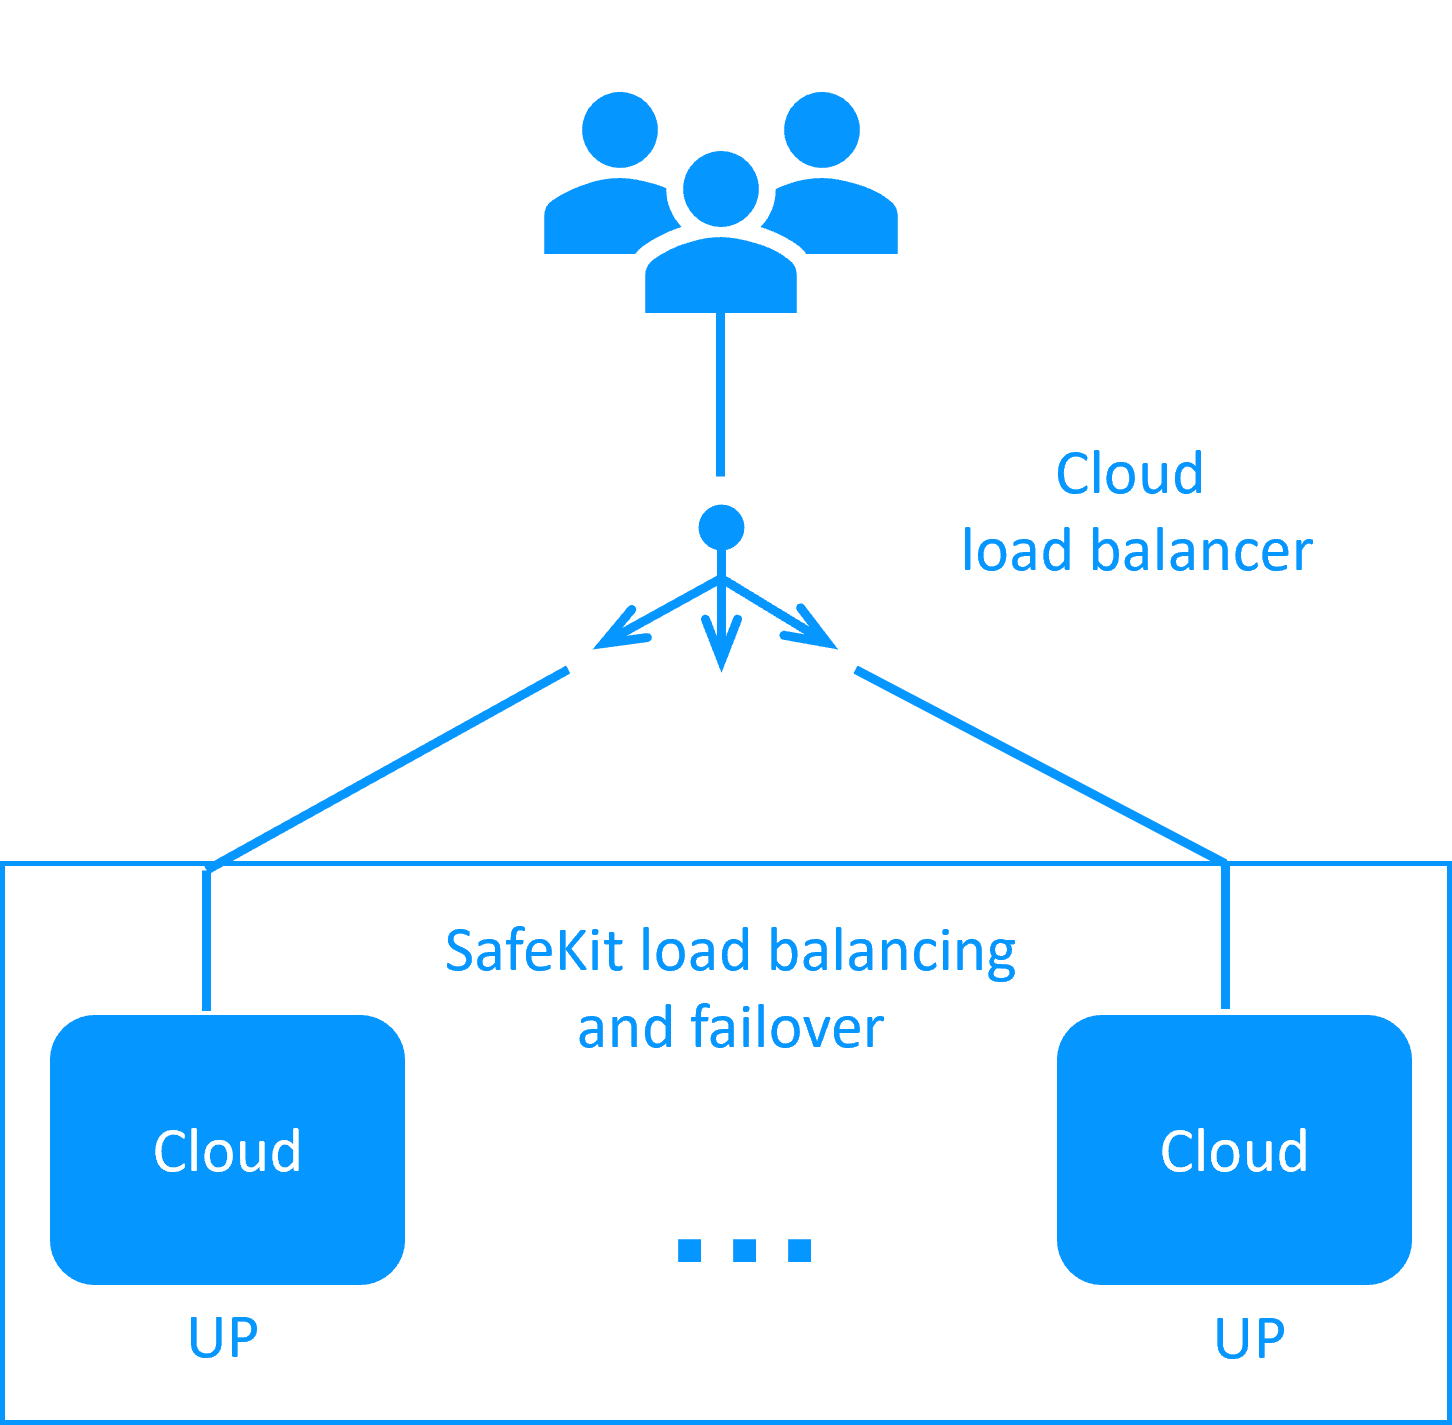
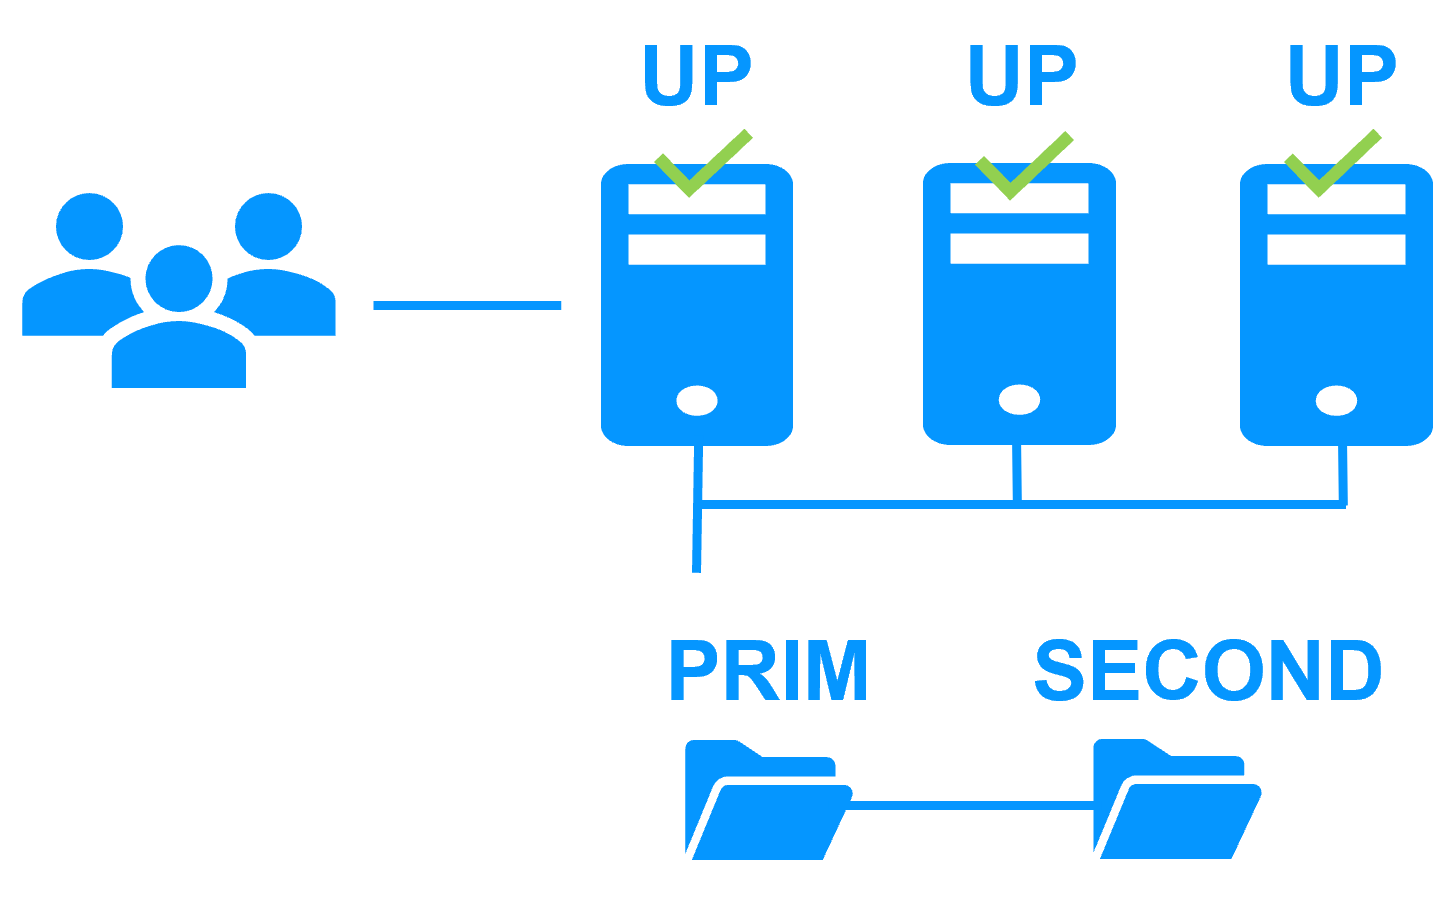
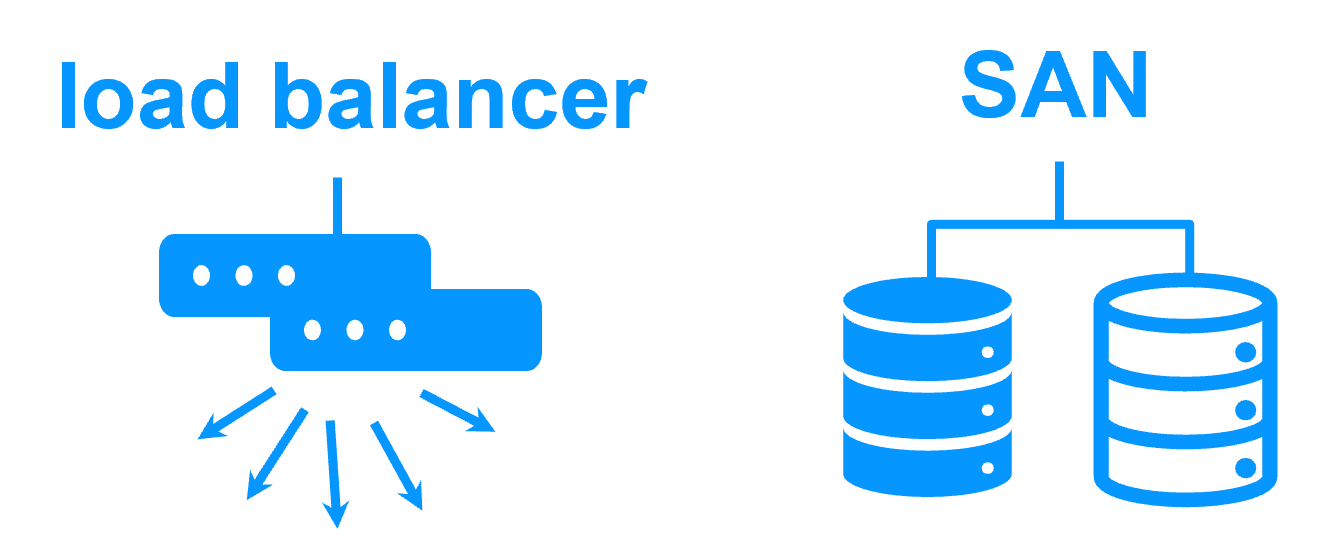
How it works in Amazon AWS?
- The servers are running in different availability zones.
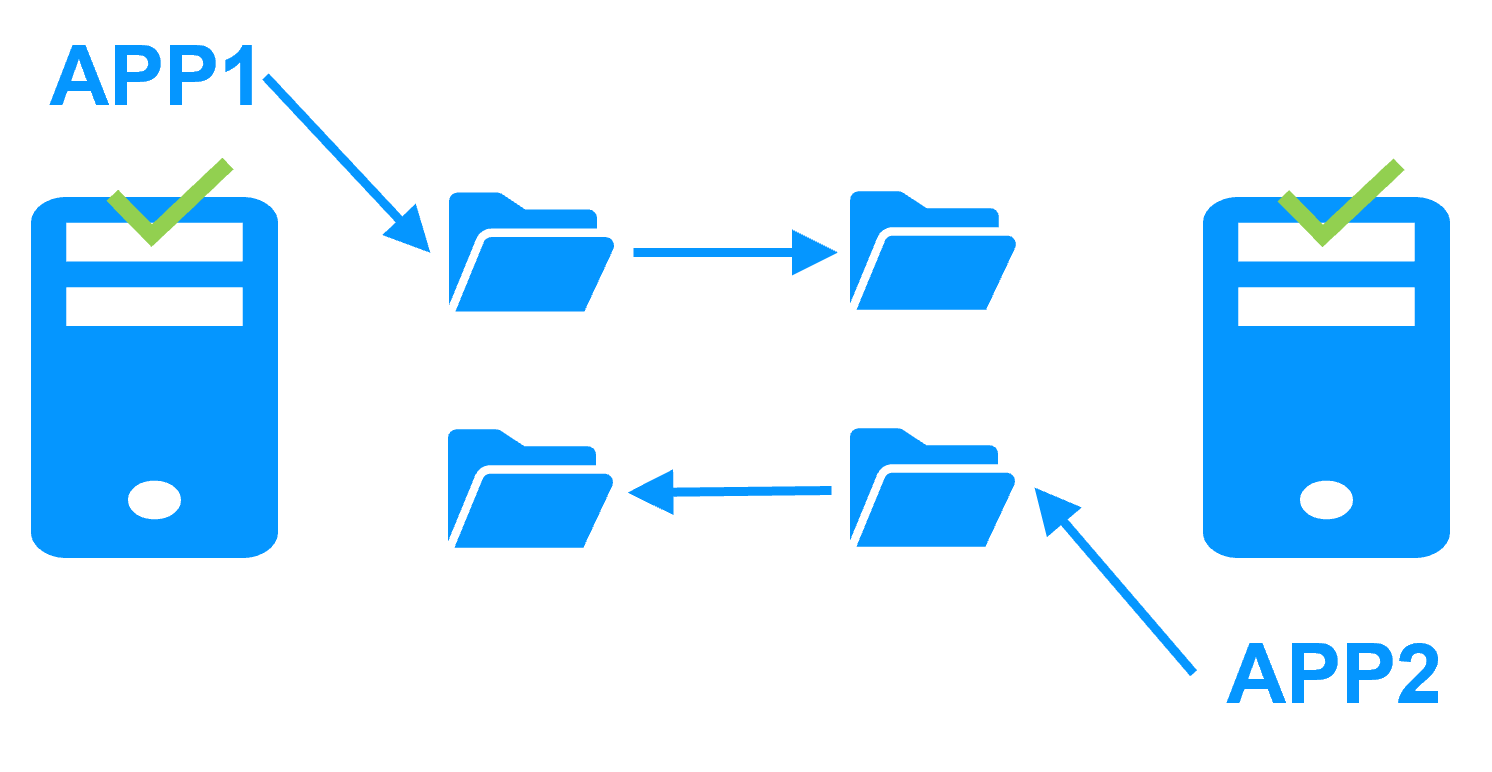
- The critical application is running in all servers of the farm.
- Users are connected to a virtual IP address which is configured in the Amazon AWS load balancer.
- SafeKit provides a generic health check for the load balancer.
When the farm module is stopped in a server, the health check returns NOK to the load balancer which stops the load balancing of requests to the server.
The same behavior happens when there is a hardware failure. - In each server, SafeKit monitors the critical application with process checkers and custom checkers.
- SafeKit restarts automatically the critical application in a server when there is a software failure thanks to restart scripts.
- A connector for the SafeKit web console is installed in each server.
Thus, the load balancing cluster can be managed in a very simple way to avoid human errors.


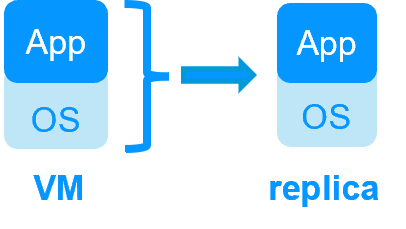
Key differentiators of high availability at the virtual machine level or at the application level
| VM HA with the SafeKit Hyper-V or KVM module | Application HA with SafeKit application modules |
 |
 |
| SafeKit inside 2 hypervisors: replication and failover of full VM | SafeKit inside 2 virtual or physical machines: replication and failover at application level |
| Replicates more data (App+OS) | Replicates only application data |
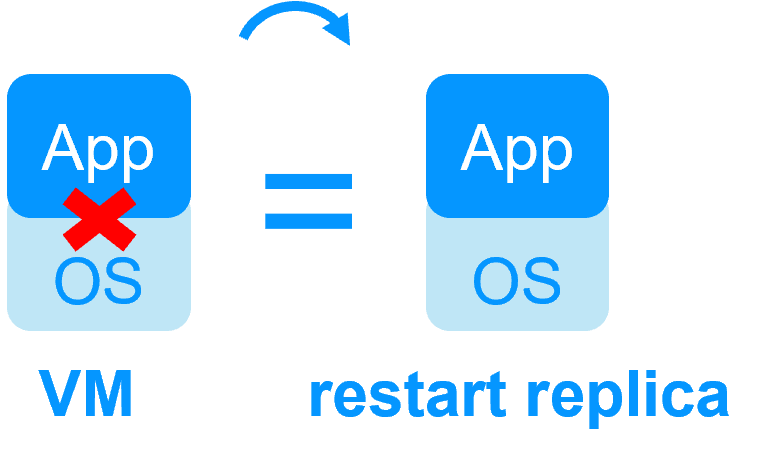
| Reboot of VM on hypervisor 2 if hypervisor 1 crashes Recovery time depending on the OS reboot VM checker and failover (Virtual Machine is unresponsive, has crashed, or stopped working) |
Quick recovery time with restart of App on OS2 if crash of server 1 Around 1 mn or less (see RTO/RPO here) Application checker and software failover |
| Generic solution for any application / OS | Restart scripts to be written in application modules |
| Works with Windows/Hyper-V and Linux/KVM but not with VMware | Platform agnostic, works with physical or virtual machines, cloud infrastructure and any hypervisor including VMware |
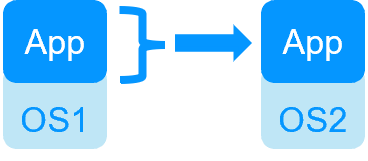
Key differentiators of SafeKit vs Microsoft Hyper-V cluster and VMware HA
| SafeKit with the Hyper-V module or the KVM module | Microsoft Hyper-V Cluster & VMware HA |
 |
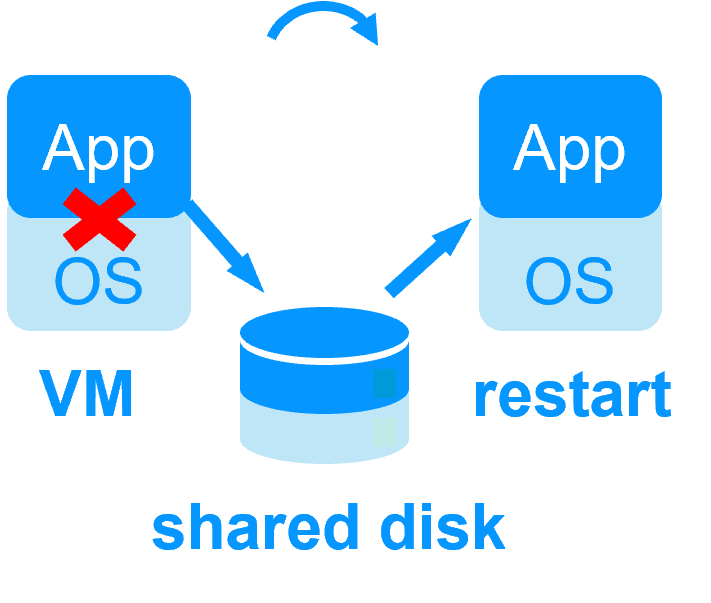 |
 No shared disk - synchronous real-time replication instead with no data loss No shared disk - synchronous real-time replication instead with no data loss |
 Shared disk and specific extenal bay of disk Shared disk and specific extenal bay of disk |
| Remote sites = no SAN for replication |
Remote sites = replicated bays of disk across a SAN |
| No specific IT skill to configure the system (with hyperv.safe and kvm.safe) |
Specific IT skills to configure the system |
| Note that the Hyper-V/SafeKit and KVM/SafeKit solutions are limited to replication and failover of 32 VMs. | Note that the Hyper-V built-in replication does not qualify as a high availability solution. This is because the replication is asynchronous, which can result in data loss during failures, and it lacks automatic failover and failback capabilities. |
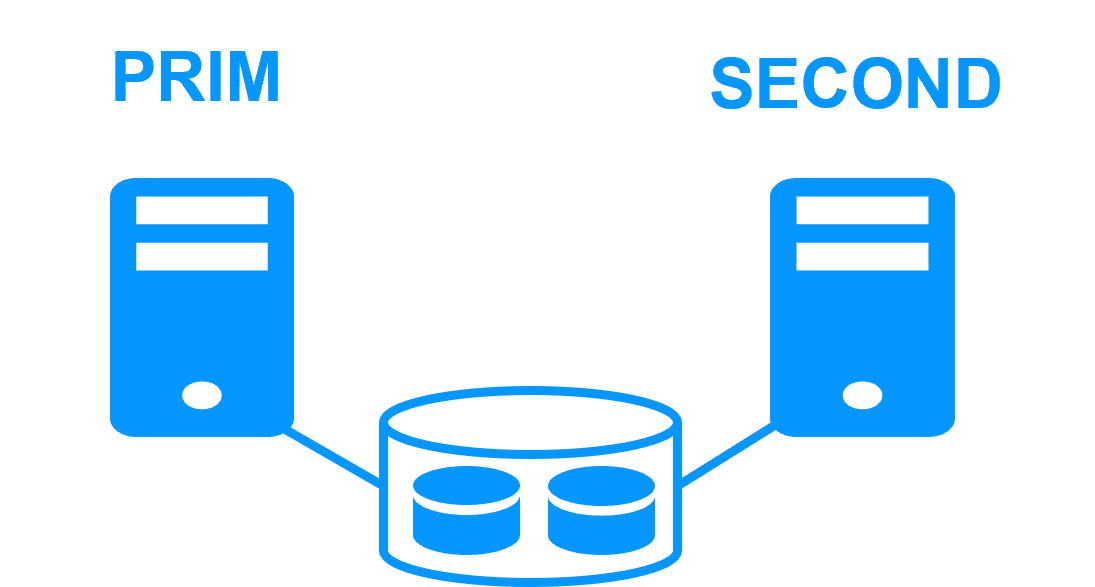
Key differentiators of a mirror cluster with replication and failover
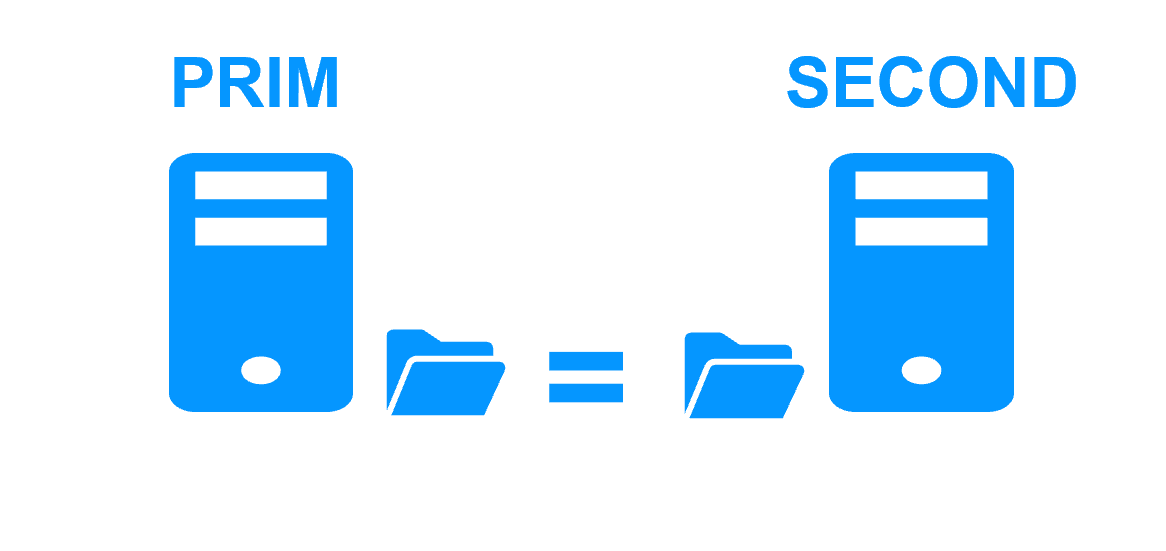
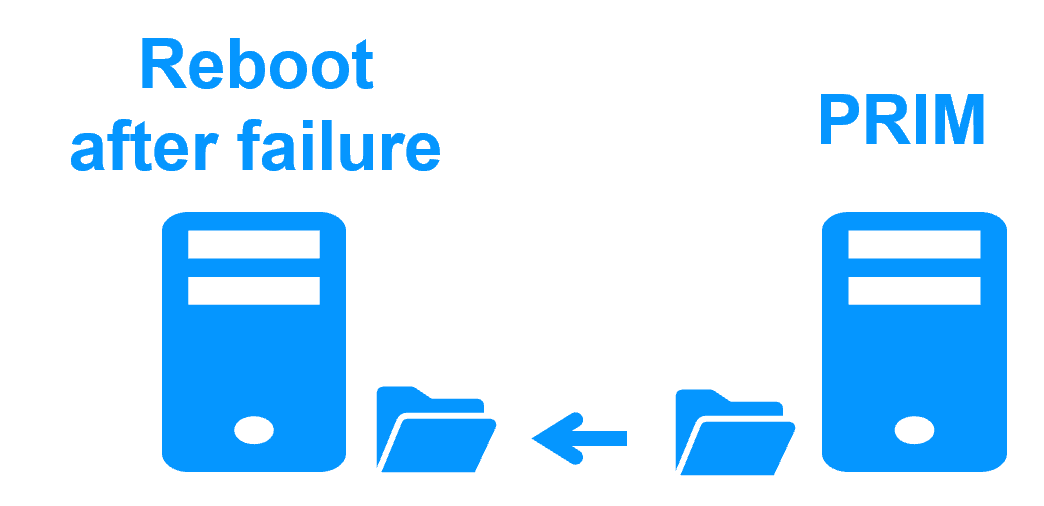
Evidian SafeKit mirror cluster with real-time file replication and failover |
|
3 products in 1
More info >
 |
|
Very simple configuration
More info >
 |
|
Synchronous replication
More info >
 |
|
Fully automated failback
More info >
 |
|
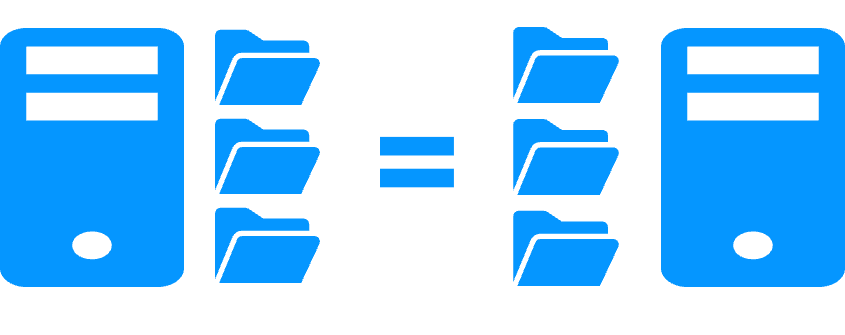
Replication of any type of data
More info >
 |
|
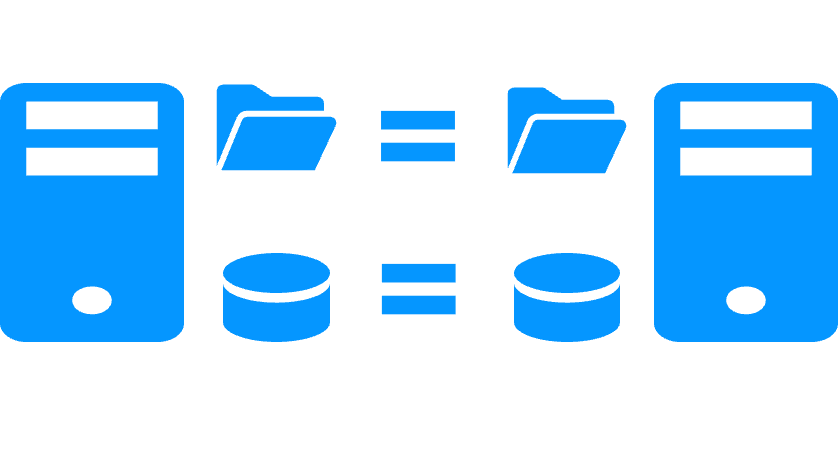
File replication vs disk replication
More info >
 |
|
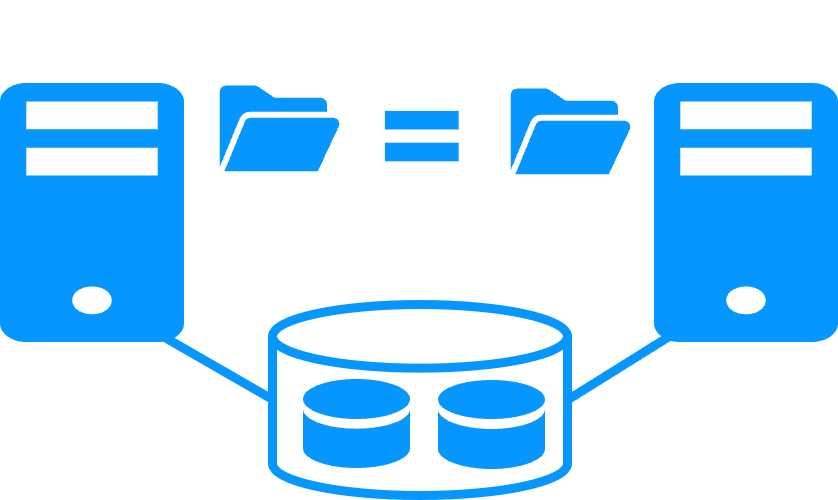
File replication vs shared disk
More info >
 |
|
Remote sites and virtual IP address
More info >
 |
|
Quorum and split brain
More info >
 |
|
Active/active cluster
More info >
 |
|
Uniform high availability solution
More info >
 |
|
RTO / RPO
More info >
 |
|
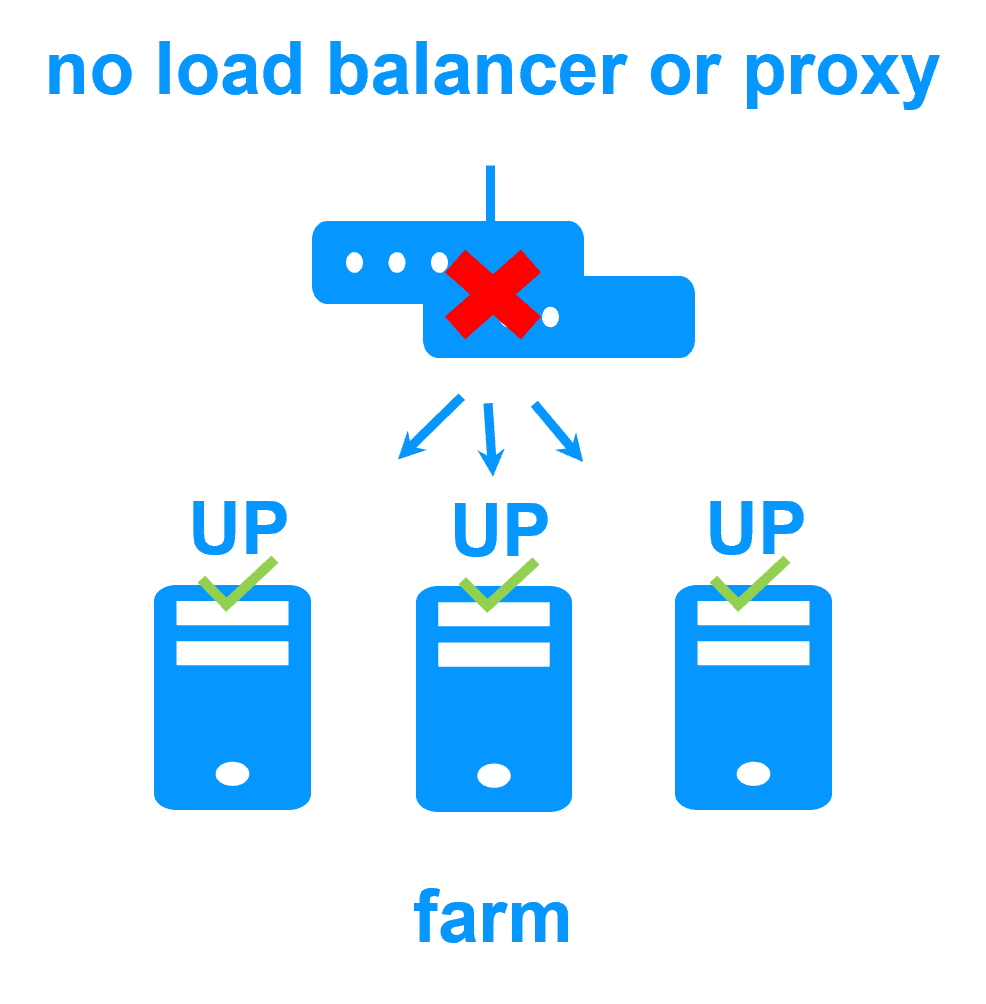
Key differentiators of a farm cluster with load balancing and failover
Evidian SafeKit farm cluster with load balancing and failover |
|
No load balancer or dedicated proxy servers or special multicast Ethernet address
More info >
 |
|
|
All clustering features
More info >
|
|
|
Remote sites and virtual IP address
More info >
|
|
|
Uniform high availability solution
More info >
|
|
Key differentiators of the SafeKit high availability technology
Software clustering vs hardware clustering More info > |
|
|
|
Shared nothing vs a shared disk cluster More info > |
|
|
|
Application High Availability vs Full Virtual Machine High Availability More info > |
|
|
|
High availability vs fault tolerance More info > |
|
|
|
Synchronous replication vs asynchronous replication More info > |
|
|
|
Byte-level file replication vs block-level disk replication More info > |
|
|
|
Heartbeat, failover and quorum to avoid 2 master nodes More info > |
|
|
|
Virtual IP address primary/secondary, network load balancing, failover More info > |
|

|
|