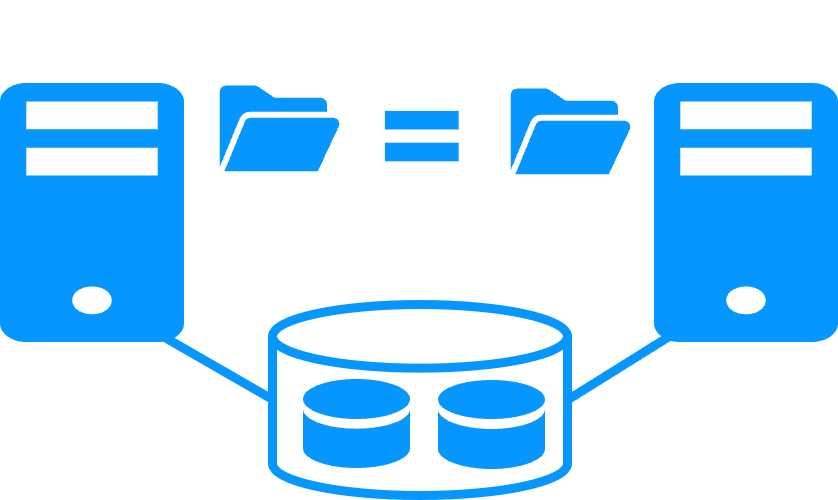
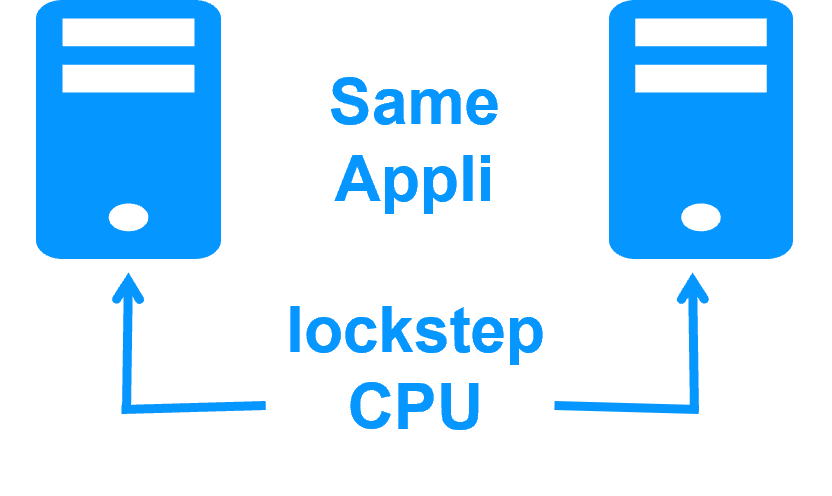
Hyper-V cluster without shared storage on a SAN
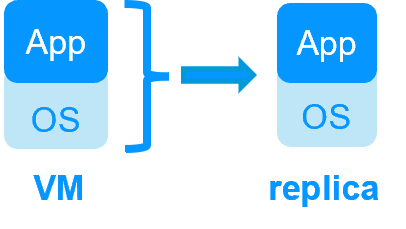
[SafeKit] Synchronous real-time replication, high availability and migration of virtual machines between two servers
The solution for Hyper-V
Evidian SafeKit brings high availability to Hyper-V between two servers of any brand.
This article explains how to implement quickly a Hyper-V cluster without shared storage on a SAN and without specific skills.
The principle of the solution is to put a critical application in a virtual machine under Hyper-V. SafeKit implements real-time replication and automatic failover of the virtual machine.
Note that Hyper-V is the free hypervisor included in all Windows versions (even Windows for PC).
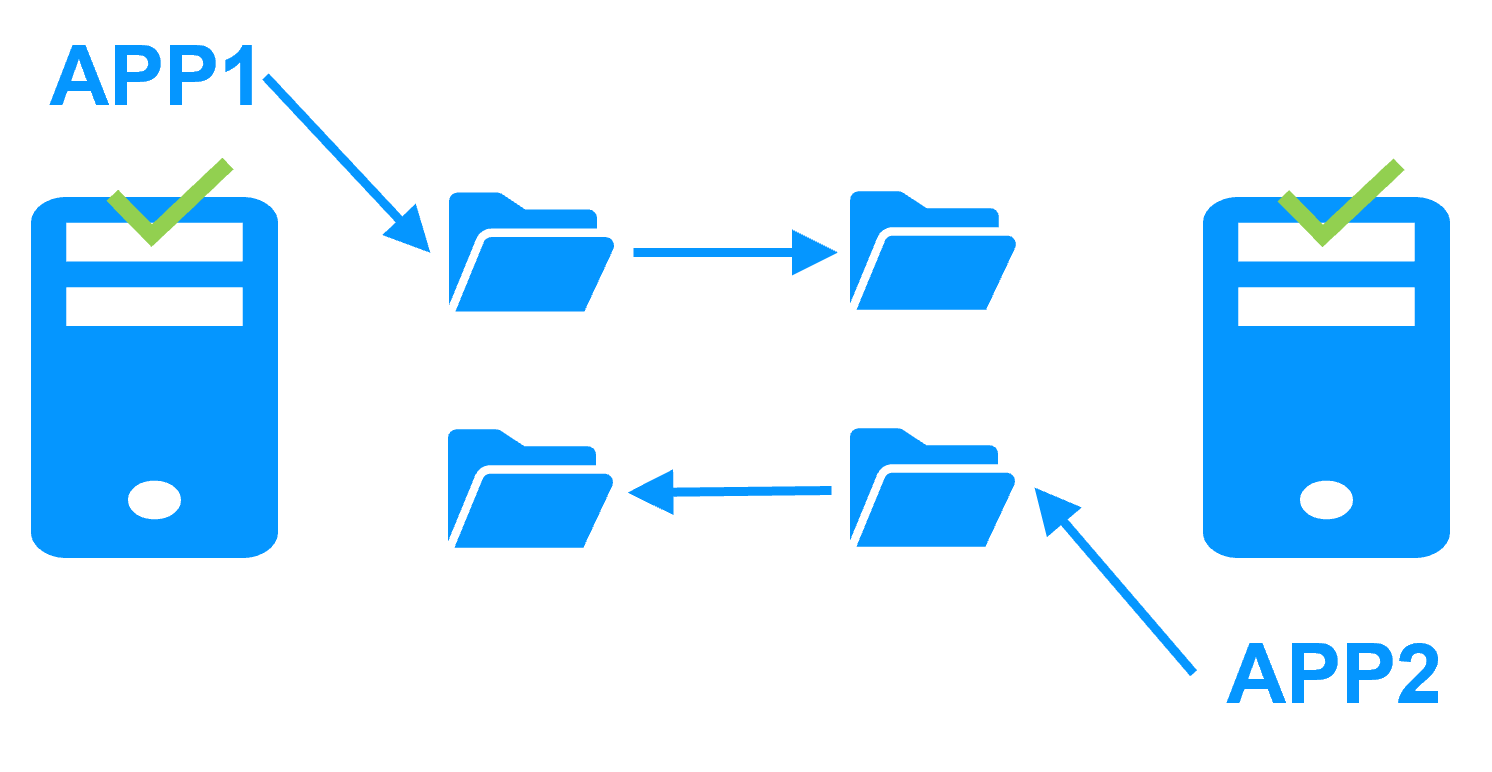
A solution open to several applications
Several applications can be put in several virtual machines replicated and restarted by SafeKit. You have the possibility to migrate each virtual machine between both servers with the SafeKit console and thus balance the load in an active-active cluster.
![[SafeKit] A Hyper-V cluster without shared storage on a SAN](/wp-content/uploads/2024/02/safekit-hyper-v.png)
Save costs with this solution
There is no need for complex VMware-type solution with three servers and shared storage on a SAN or vSAN. With SafeKit, you will have instead synchronous real-time replication and failover of several virtual machines between two servers.
And with the standard Hyper-V manager GUI, you will be able to manage very simply your virtual machines.
Note that you can implement with the SafeKit product real-time replication and failover of any file directory and service, database, complete Hyper-V or KVM virtual machines, Docker, Podman, K3S, Cloud applications (see all solutions).
How the SafeKit Hyper-V cluster works?
The following steps are described for one virtual machine inside one mirror module. Each replicated virtual machine runs in an independent mirror module (with a maximum of 32 virtual machines) with a primary server that can be either the Hyper-V server 1 or the Hyper-V server 2.
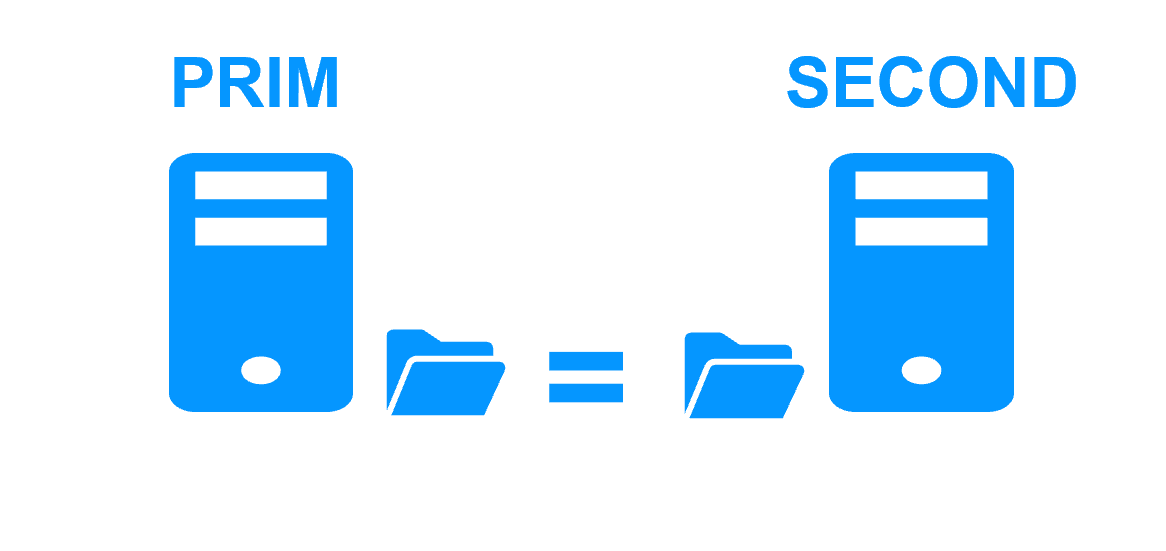
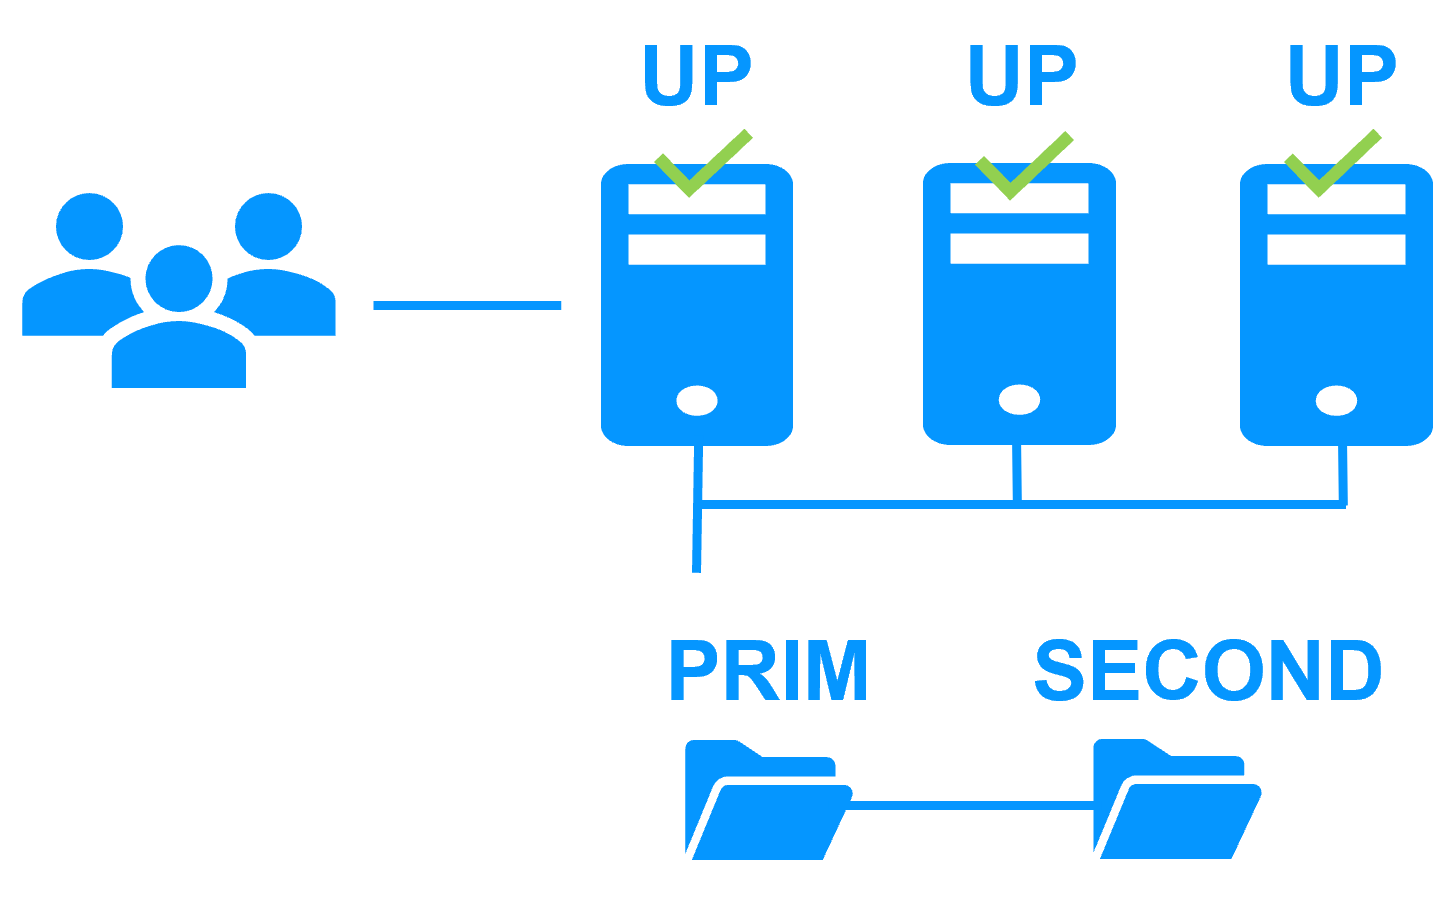
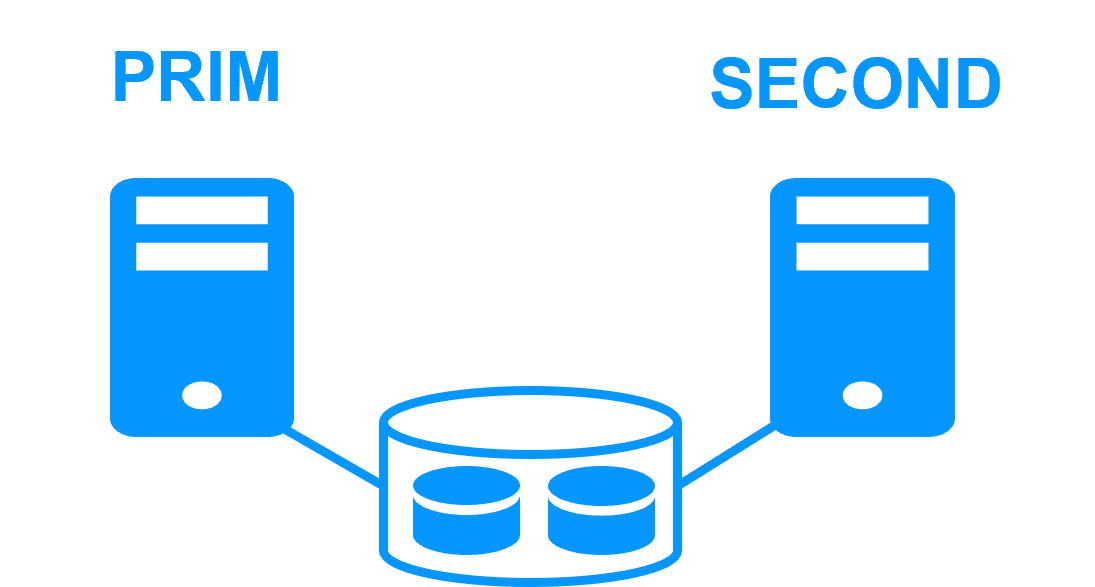
Step 1. Real-time replication
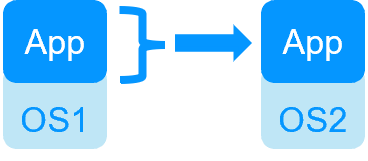
Server 1 (PRIM) runs the VM (virtual machine). SafeKit replicates in real time the VM files (virtual hard disk, VM configuration). Only changes made in the files are replicated across the network.
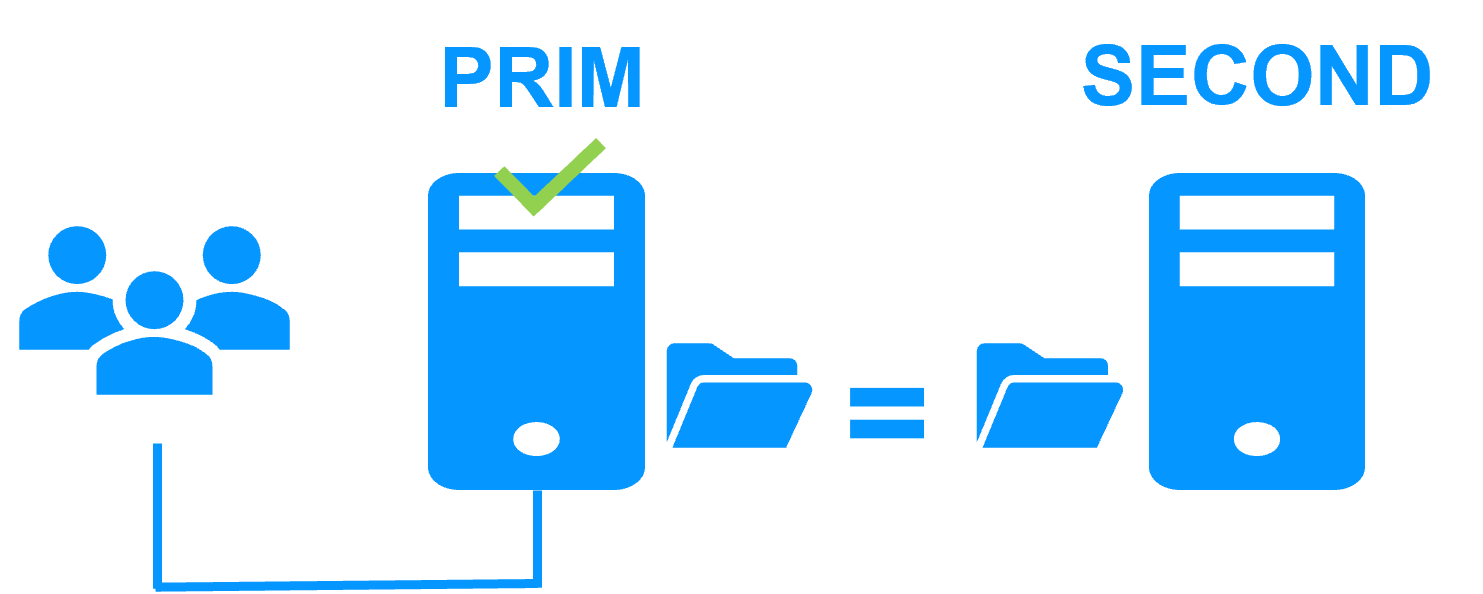
The replication is synchronous with no data loss on failure contrary to asynchronous replication.
You just have to configure the VM directory name in SafeKit. There are no pre-requisites on disk organization. The directory may be located in the system disk.
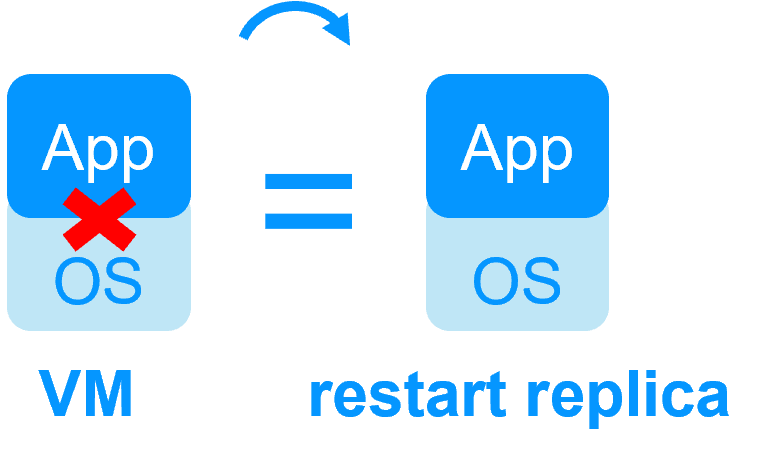
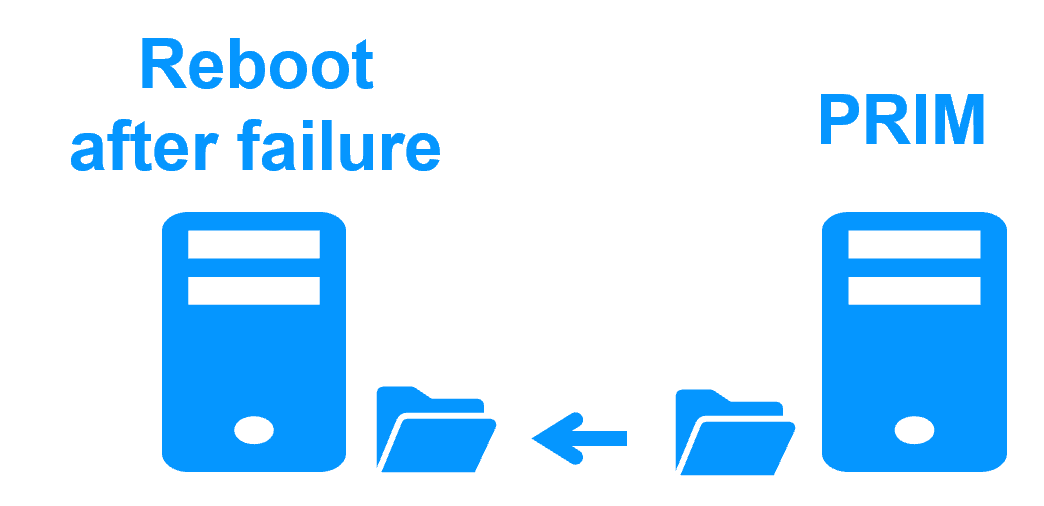
Step 2. Automatic failover
When Server 1 fails, Server 2 takes over. SafeKit restarts the VM on Server 2. Hyper-V finds the files replicated by SafeKit uptodate on Server 2.
The VM continues to run on Server 2 by locally modifying its files that are no longer replicated to Server 1.
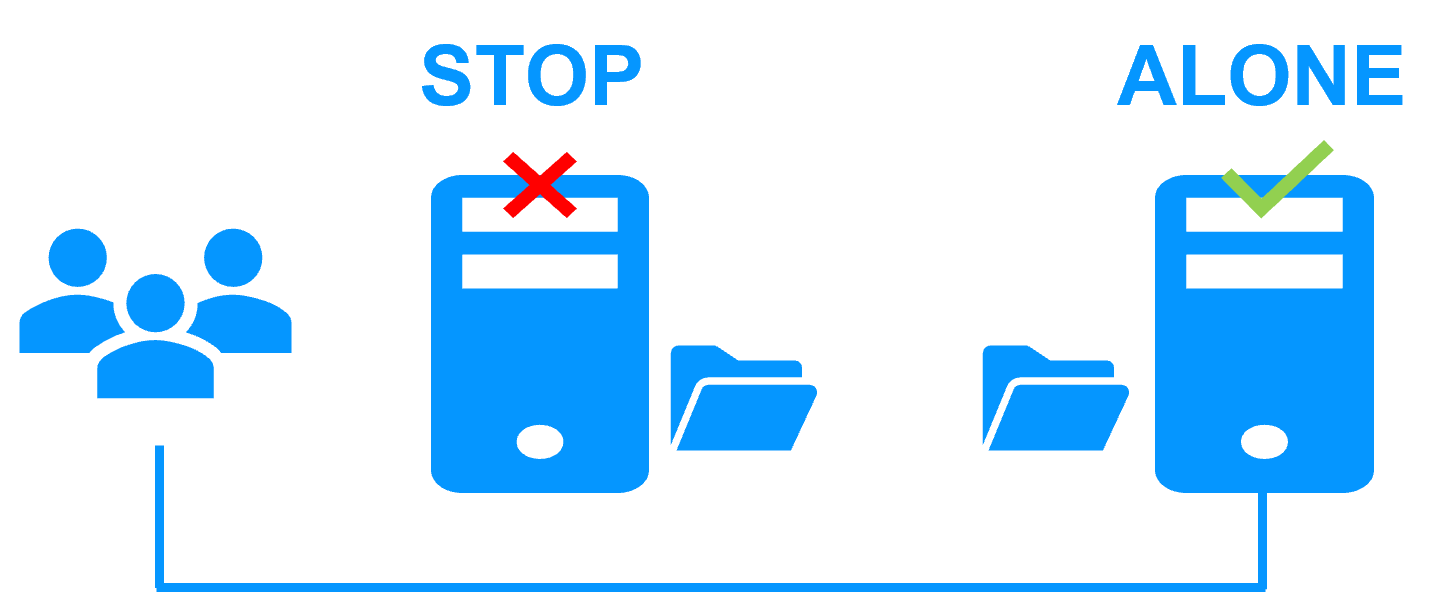
The failover time is equal to the fault-detection time (set to 30 seconds by default) plus the VM reboot time.
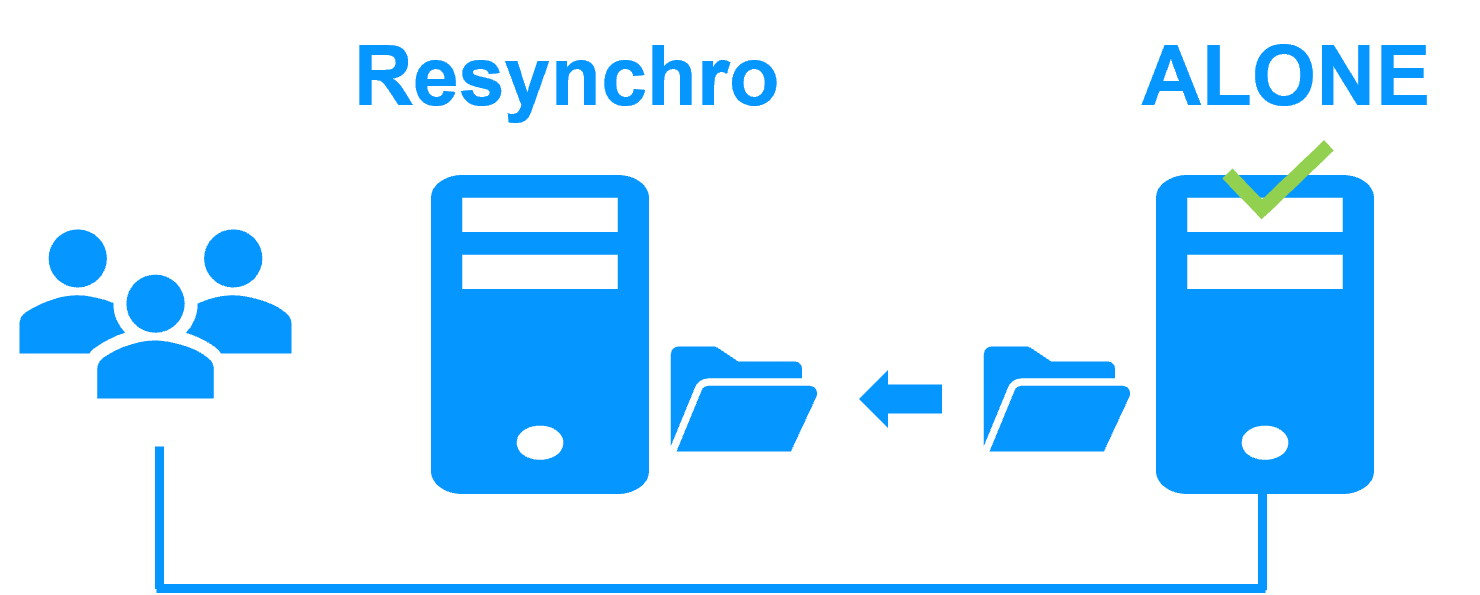
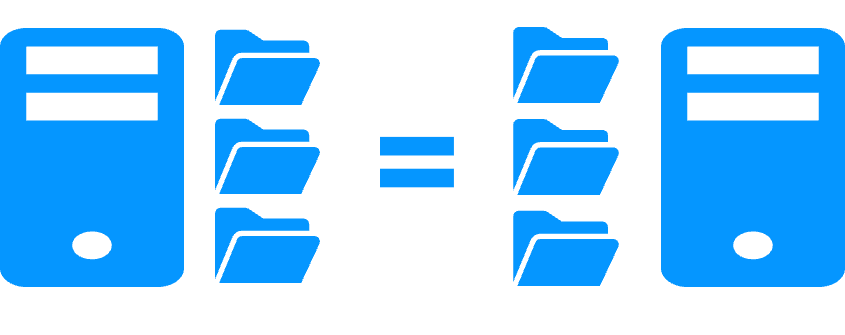
Step 4. Back to normal
After reintegration, the VM files are once again in mirror mode, as in step 1. The system is back in high-availability mode, with the VM running on Server 2 and SafeKit replicating file updates to Server 1.
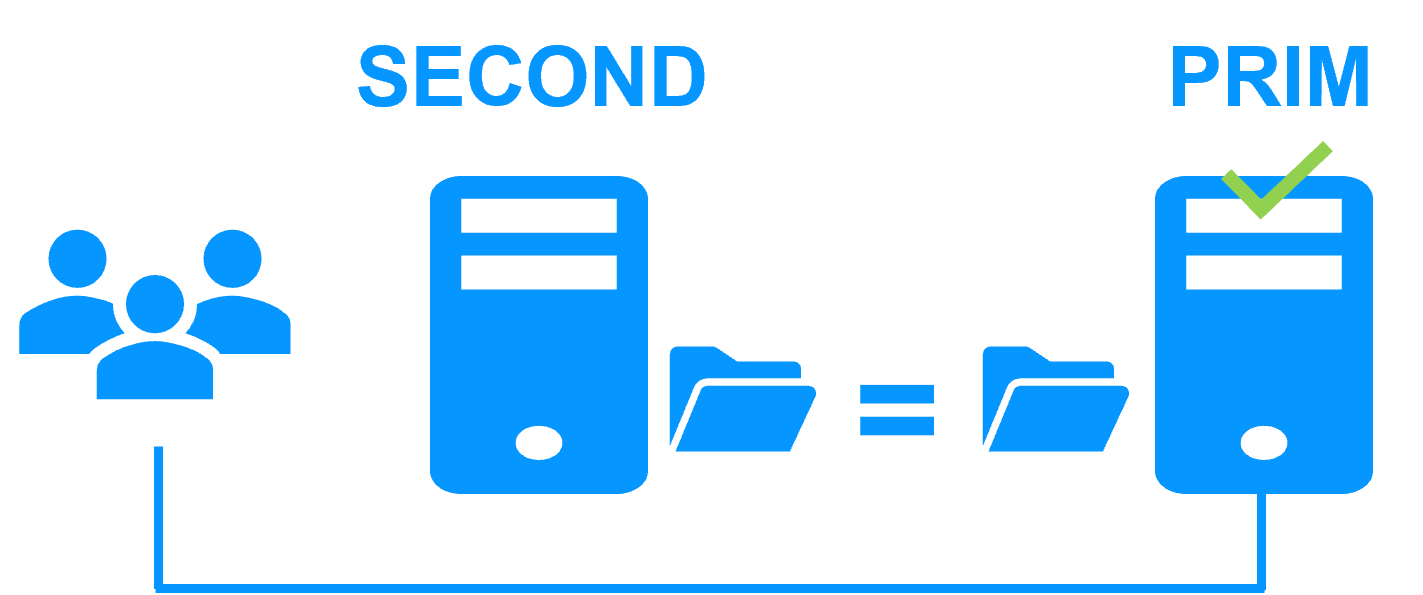
If the administrator wishes the VM to run on Server 1, he/she can execute a "swap" command either manually at an appropriate time, or automatically through configuration.
More information on power outage and network isolation in a cluster.
Why a replication of a few Tera-bytes?
Resynchronization time after a failure (step 3)
- 1 Gb/s network ≈ 3 Hours for 1 Tera-bytes.
- 10 Gb/s network ≈ 1 Hour for 1 Tera-bytes or less depending on disk write performances.
Alternative
- For a large volume of data, use external shared storage.
- More expensive, more complex.
Why a replication < 1,000,000 files?
- Resynchronization time performance after a failure (step 3).
- Time to check each file between both nodes.
Alternative
- Put the many files to replicate in a virtual hard disk / virtual machine.
- Only the files representing the virtual hard disk / virtual machine will be replicated and resynchronized in this case.
Why a failover ≤ 32 replicated VMs?
- Each VM runs in an independent mirror module.
- Maximum of 32 mirror modules running on the same cluster.
Alternative
- Use an external shared storage and another VM clustering solution.
- More expensive, more complex.
Why a LAN/VLAN network between remote sites?
- Automatic failover of the virtual IP address with 2 nodes in the same subnet.
- Good bandwidth for resynchronization (step 3) and good latency for synchronous replication (typically a round-trip of less than 2ms).
Alternative
- Use a load balancer for the virtual IP address if the 2 nodes are in 2 subnets (supported by SafeKit, especially in the cloud).
- Use backup solutions with asynchronous replication for high latency network.
| VM HA with the SafeKit Hyper-V or KVM module | Application HA with SafeKit application modules |
 |
 |
| SafeKit inside 2 hypervisors: replication and failover of full VM | SafeKit inside 2 virtual or physical machines: replication and failover at application level |
| Replicates more data (App+OS) | Replicates only application data |
| Reboot of VM on hypervisor 2 if hypervisor 1 crashes Recovery time depending on the OS reboot VM checker and failover (Virtual Machine is unresponsive, has crashed, or stopped working) |
Quick recovery time with restart of App on OS2 if crash of server 1 Around 1 mn or less (see RTO/RPO here) Application checker and software failover |
| Generic solution for any application / OS | Restart scripts to be written in application modules |
| Works with Windows/Hyper-V and Linux/KVM but not with VMware | Platform agnostic, works with physical or virtual machines, cloud infrastructure and any hypervisor including VMware |
| SafeKit with the Hyper-V module or the KVM module | Microsoft Hyper-V Cluster & VMware HA |
 |
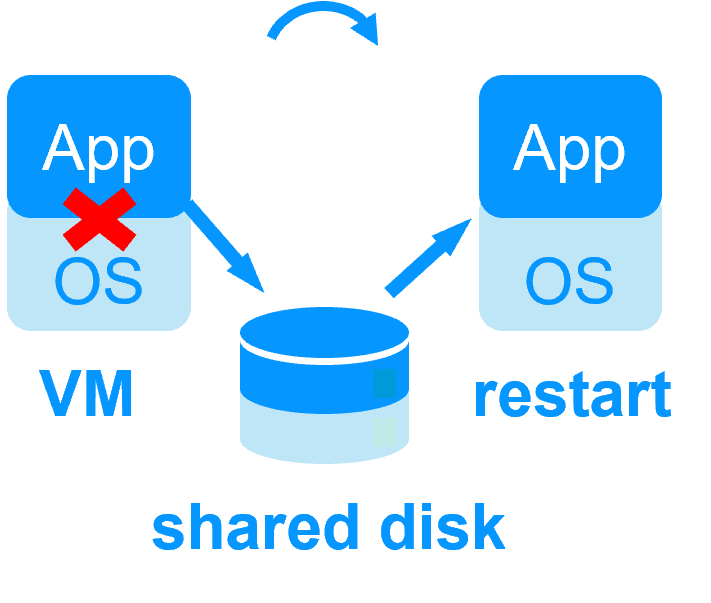 |
 No shared disk - synchronous real-time replication instead with no data loss No shared disk - synchronous real-time replication instead with no data loss |
 Shared disk and specific extenal bay of disk Shared disk and specific extenal bay of disk |
| Remote sites = no SAN for replication |
Remote sites = replicated bays of disk across a SAN |
| No specific IT skill to configure the system (with hyperv.safe and kvm.safe) |
Specific IT skills to configure the system |
| Note that the Hyper-V/SafeKit and KVM/SafeKit solutions are limited to replication and failover of 32 VMs. | Note that the Hyper-V built-in replication does not qualify as a high availability solution. This is because the replication is asynchronous, which can result in data loss during failures, and it lacks automatic failover and failback capabilities. |
Evidian SafeKit mirror cluster with real-time file replication and failover |
|
3 products in 1
More info >
 |
|
Very simple configuration
More info >
 |
|
Synchronous replication
More info >
 |
|
Fully automated failback
More info >
 |
|
Replication of any type of data
More info >
 |
|
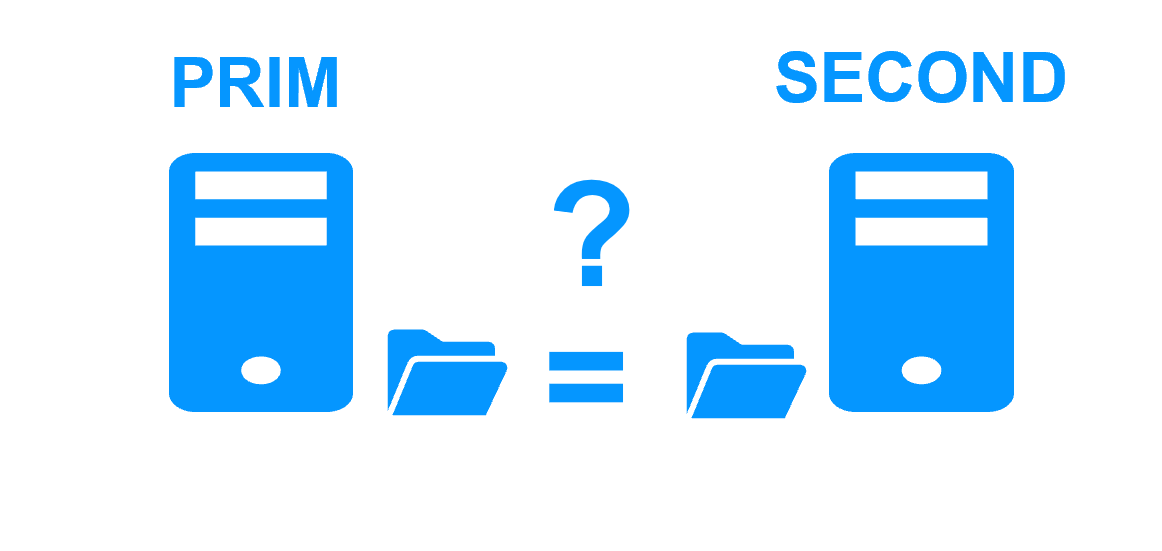
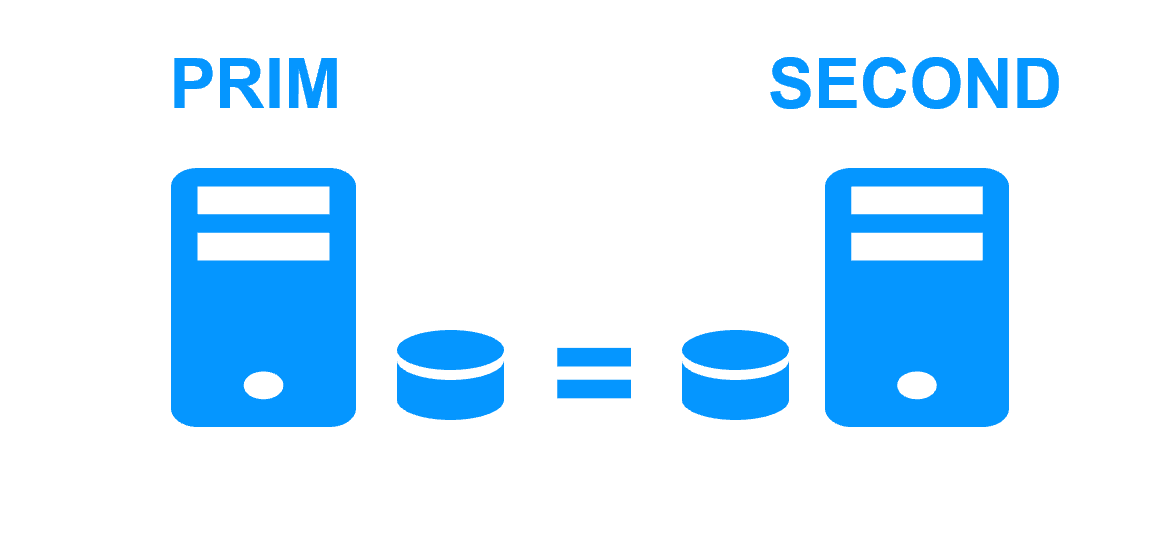
File replication vs disk replication
More info >
 |
|
File replication vs shared disk
More info >
 |
|
Remote sites and virtual IP address
More info >
 |
|
Quorum and split brain
More info >
 |
|
Active/active cluster
More info >
 |
|
Uniform high availability solution
More info >
 |
|
RTO / RPO
More info >
 |
|
Evidian SafeKit farm cluster with load balancing and failover |
|
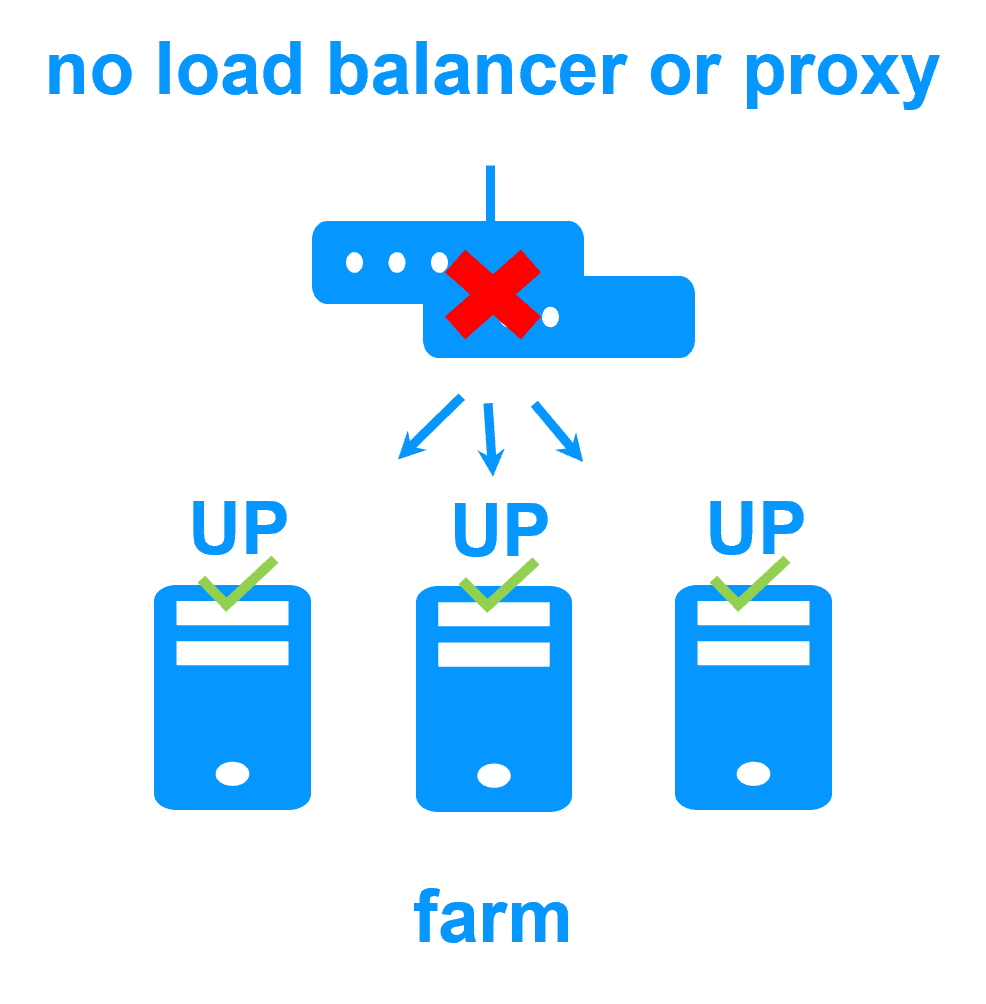
No load balancer or dedicated proxy servers or special multicast Ethernet address
More info >
 |
|
|
All clustering features
More info >
|
|
|
Remote sites and virtual IP address
More info >
|
|
|
Uniform high availability solution
More info >
|
|
Software clustering vs hardware clustering More info > |
|
|
|
Shared nothing vs a shared disk cluster More info > |
|
|
|
Application High Availability vs Full Virtual Machine High Availability More info > |
|
|
|
High availability vs fault tolerance More info > |
|
|
|
Synchronous replication vs asynchronous replication More info > |
|
|
|
Byte-level file replication vs block-level disk replication More info > |
|
|
|
Heartbeat, failover and quorum to avoid 2 master nodes More info > |
|
|
|
Virtual IP address primary/secondary, network load balancing, failover More info > |
|

|
|